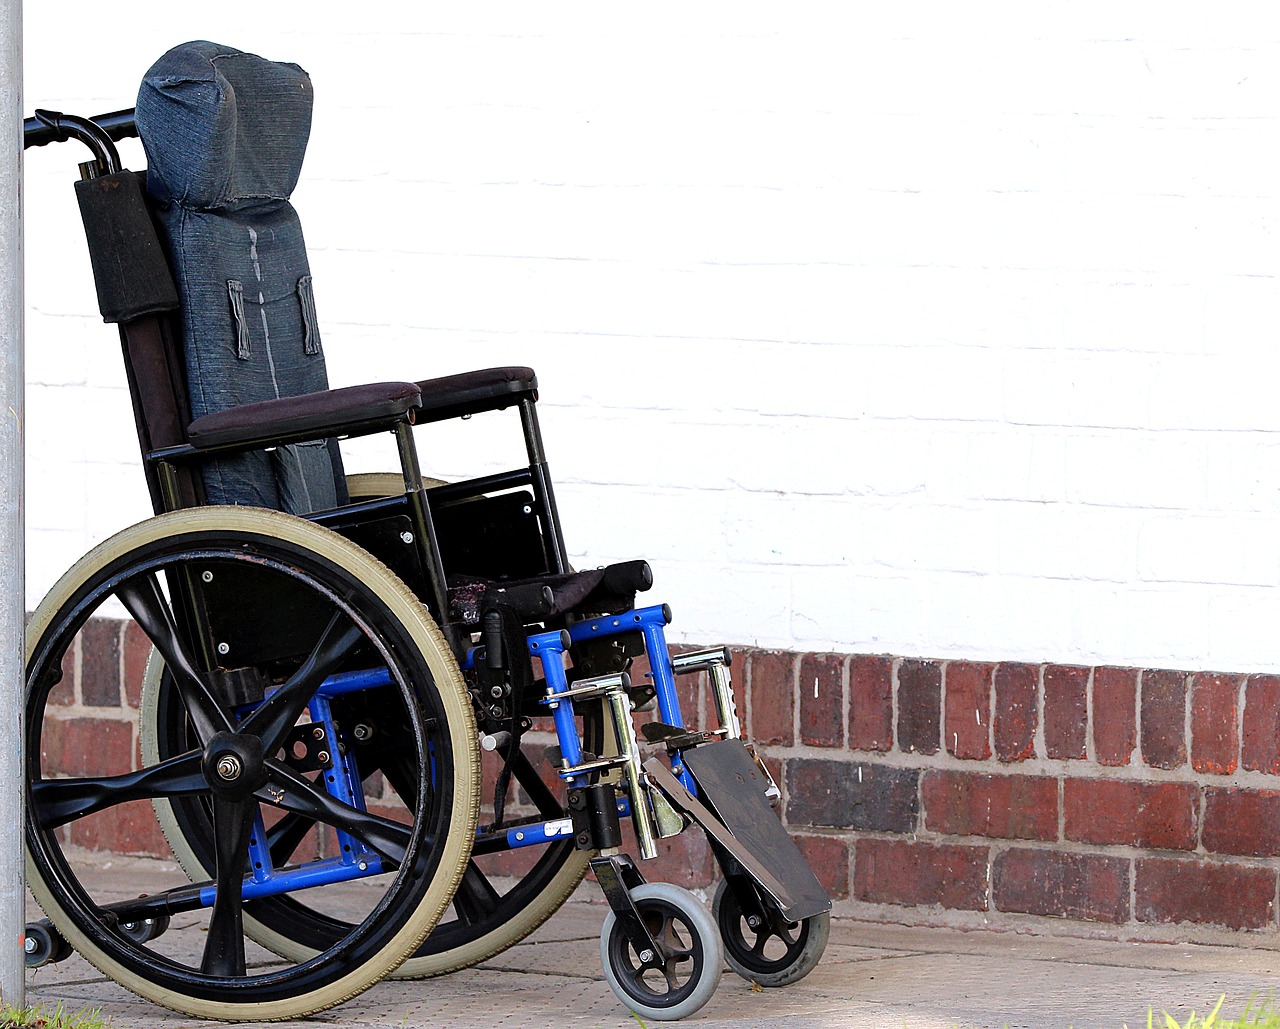
Parenting is a hard job, something that everyone has to learn as they go. As difficult as it is, being the parent of a child with disabilities is considerably more demanding. Our daily concerns extended beyond dressing, feeding and bathing to tasks that are essential to a child’s well-being, perhaps his or her very survival. Mobility, access and personal safety were necessities that required us to make special arrangements. Many of these arrangements came down to simple common sense; others called for more extensive adaptations of the layout and interior structure of our home. These changes were made based on the nature of our child’s disability, though most disabled children require some kind of adjustment that requires a financial investment and diligent attention to every detail.
We were able to make some of the modifications ourselves, though many of the more extensive changes forced us to seek out the expertise of contractors and construction companies. The first step was to determine what we could handle, what we knew we’d need help with, and what our financial resources could handle. In general, improving accessibility and mobility required us to interview and hire experienced builders.
Maneuverability
If your child is in a wheelchair or uses some other mobility assistive device you’ll need to make sure that all doors, inside and out, are sufficiently wide (at least 32 inches across) and are easy to open and close. We replaced door knobs with levers to help improve access for to bedroom and bathroom for our child. Flooring can also be an impediment for a disabled child. Thick, plush carpeting, throw rugs, and certain kinds of hard rubber floors can make it very difficult move without assistance. We found that tile and hardwood were much easier for our child to move across in his wheelchair (if you’re not experienced at laying these kinds of flooring, consider hiring a professional). Remember, your child should be able to move around the home with ease and with no (or minimal) assistance.
Getting in & out
Stairs leading to the front or back door is one of the most common obstacles to wheelchair access. There are two options: an electric lift or a ramp. Either alternative will allow your child to come and go at will, though a ramp is usually considerably less expensive. It’s certainly proven to be the best solution for our child (our wooden ramp cost us about $3,500). Such accessibility modifications can cost homeowners nationwide from $1,604 to $14,168.
Accessible bathroom
A bathroom that’s too small to move around in conveniently can put a damper on your child’s confidence. It may be necessary to replace a vanity that’s too large with a customized piece that has leg space underneath. If your child’s in a wheelchair, remember that there should be room enough to use the toilet (which must be accessible and at the right height), bathe, and perform other daily routines. We installed grab rails around the commode and throughout the bathroom to make it as safe as possible.
The kitchen should be maneuverable as well, with accessible counter space and kitchen cabinets. Countertops need to be 34 inches high and 30 inches wide with leg space underneath (base cabinets should be removed). We removed our kitchen table to allow for enough maneuverability, replaced the faucet with levers, and installed handles on our drawers and cabinets.
With the exception of the accessibility ramp, we were able to make most of the modifications ourselves. They were inexpensive and relatively simple. More importantly, they’ve helped our child’s confidence and given him a strong sense of independence and self-reliance.
Courtesy of Pixabay.com.
